


Recipe by: Craig C. Today's recipe is an all-time favorite - beef short ribs! This...
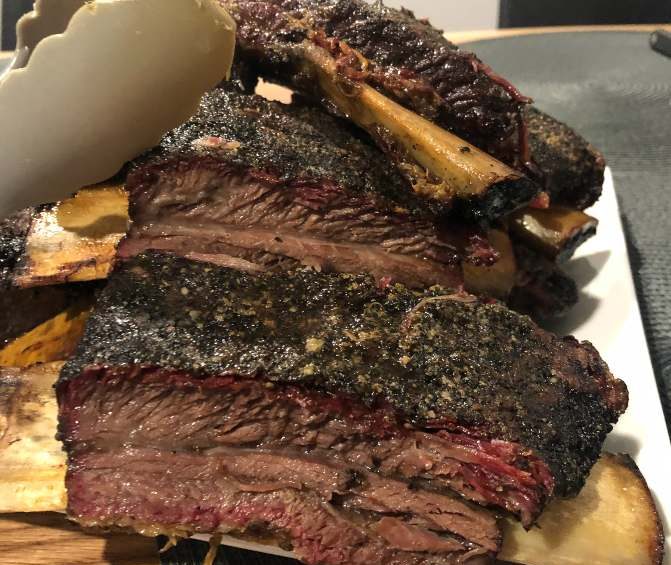
Recipe by: Craig C. Today's recipe is an all-time favorite - beef short ribs! This...

Recipe by @kateirving Who doesn't love a freshly made pastry for morning tea? Now you...

Recipe by Dwayne Still Who would've thought that even a lump of scrap meat can...

Recipe by: @kateirving Pause your diet and indulge in this dreamy, creamy, and chocolatey coconut...

Feel free to test and adjust this recipe. Pork shoulder is an incredibly forgiving cut....
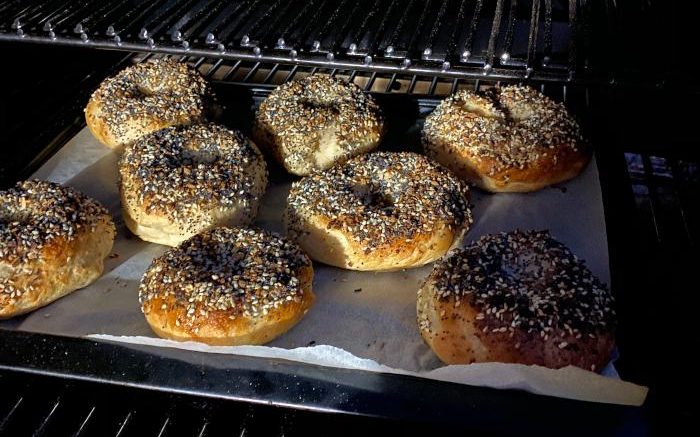
Recipe by Jordan Anderson Whether for breakfast, lunch, or those snacks in between, you can...